

Soil Testing Your Horse's Paddock Before Seeding: Why, When and How
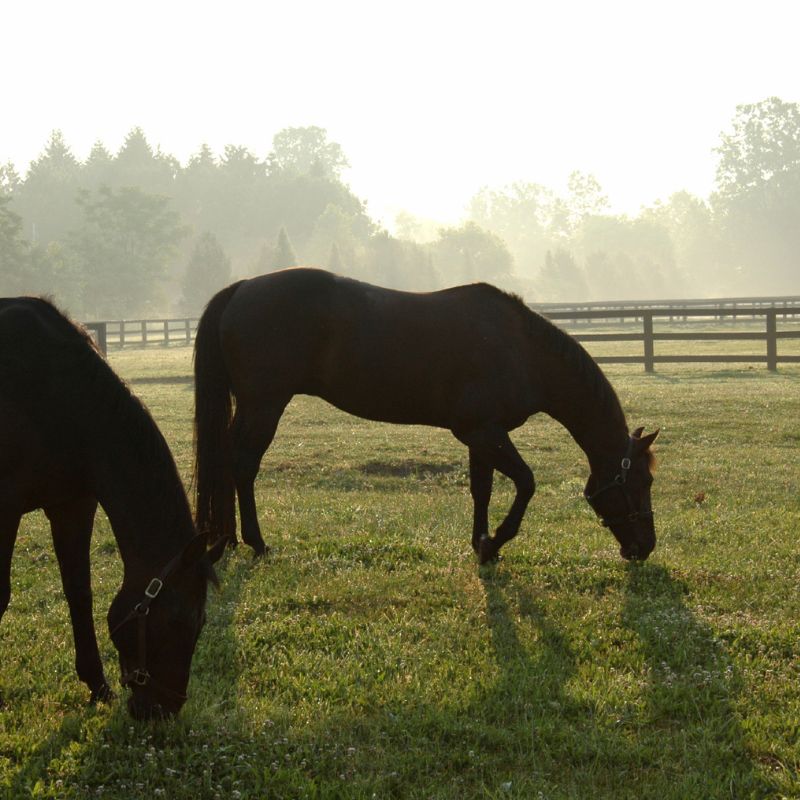
As a horse owner, ensuring your paddock is in optimal condition is crucial to the health and wellbeing of your horses. One of the most impactful factors for your horse’s health is the quality of the grass they graze on, and the quality of that grass directly depends on the quality of the soil in which it grows. Healthy soil supports the growth of nutritious, protein-rich grass, which contributes to your horse’s energy levels, overall health, and performance.
Regular soil testing is a simple yet effective way to ensure your paddock provides the best grazing possible. It helps determine what nutrients your soil may be lacking and guides you on the right treatments to improve your land's health.
Why Soil Testing Matters
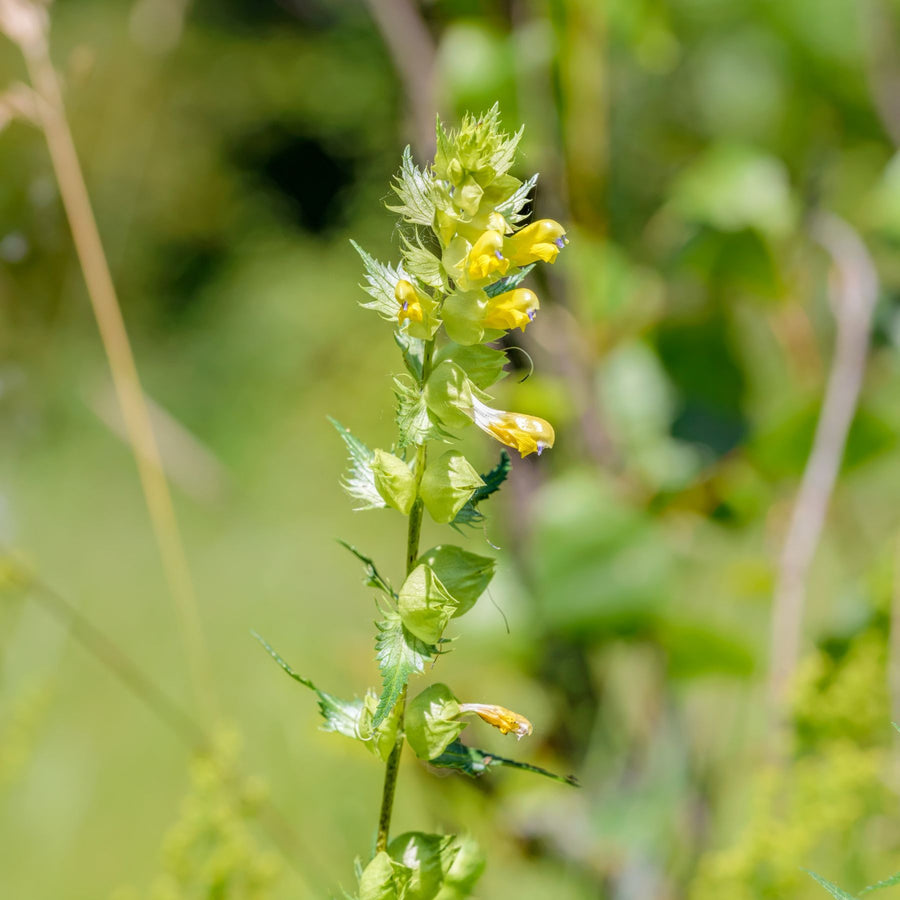
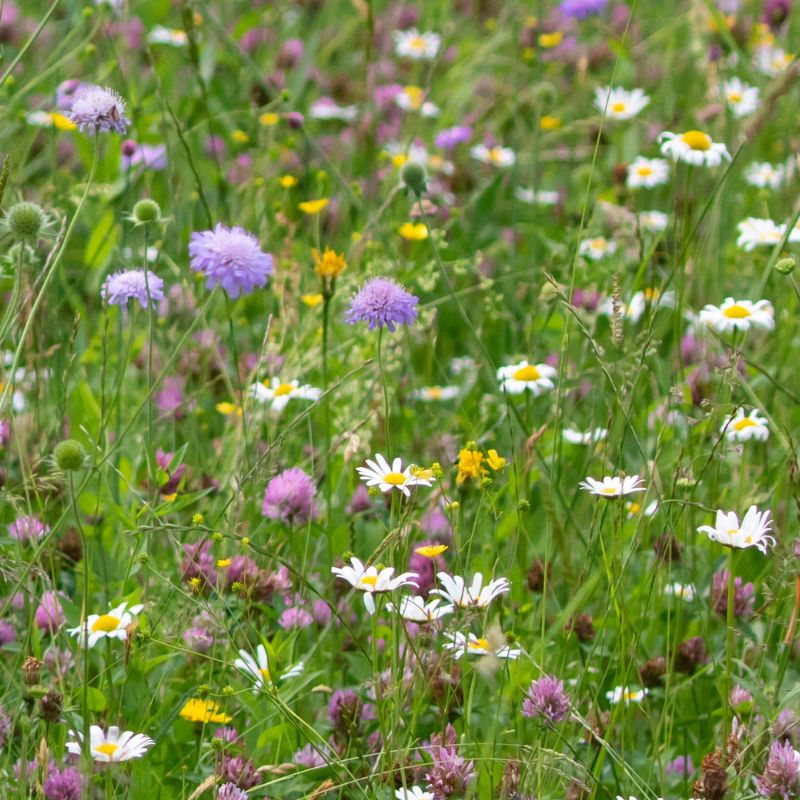
Soil testing gives you a comprehensive understanding of your paddock’s nutrient levels, helping you make informed decisions when managing your pasture. Nutrient-rich soil will produce high-quality grasses and legumes, ensuring a reliable source of nutrition for your horse. In addition, proper soil management can also suppress some common pasture weeds. Without regular testing, it’s difficult to know what your soil needs.
A soil test is a low-cost investment that could significantly improve your paddock’s productivity and, in turn, the health and performance of your horses.
When Should You Soil Test?
Whilst you can test your horse pasture soil at any time of the year, the best times for testing are between late summer and early winter (September-December) or between late winter and early spring (February to April). This allows you to plan for and treat the soil in the spring. Avoid testing soil within two months of applying fertiliser, as recent applications can affect the test results.
For general soil testing, aim to test lighter soils every three years and heavier soils every five years. However, the frequency may depend on your soil’s specific needs.
How to Soil Test Your Paddock
If you decide to soil test, you will likely be sent specific instructions by the company who is supplying the test. The following is a rough guide to the process:
- Prepare the Tools: You’ll need a soil auger or a trowel to collect samples from a depth of about 6-12 inches. These tools ensure you’re getting a representative sample of the soil that will be used to grow your grass.
- Take Multiple Samples: To get an accurate assessment, take approximately 20 different samples from across the paddock, zigzagging through the area. This will provide a broad overview of the paddock’s soil composition. Collect samples from the same depth across the paddock.
- Mix and Package the Samples: After collecting the soil samples, combine them thoroughly to create a single composite sample. This mixed sample is what you’ll send off for testing.
- Avoid Contaminated Areas: Avoid sampling areas where horses have congregated, such as near gates or water troughs, as manure and urine can skew the results. Also, areas with heavy traffic or other disturbances should be avoided.
- Consider Multiple Zones: If your paddock contains areas with different soil types, it may be worth sending samples from each distinct zone. Record where each sample was taken to ensure accurate analysis and recommendations.
Understanding Your Soil Test Results
Once you receive your soil test results, they will provide a detailed breakdown of several key factors, including:
- Soil pH: This tells you whether your soil is too acidic or too alkaline. Most grasses thrive in soil with a pH between 6 and 7. If the pH is outside this range, adjustments may be needed. Lime can be used to raise the pH of acidic soil, while sulphur can be used to lower the pH of alkaline soil.
- Nutrient Levels: The test will indicate the levels of essential nutrients, such as nitrogen (N), phosphorus (P), and potassium (K). If any of these are deficient, fertiliser recommendations will be provided to correct the imbalance.
- Organic Matter: This component of the test will show how much decomposed plant material is present in your soil. Soils with higher organic matter tend to be healthier, providing better structure and nutrient retention.
What Next?
Meadowmania does not offer soil testing services, but there are many reliable companies online that can help. One such option is Hutton Soils, part of the James Hutton Institute, which comes highly recommended by many of our customers. If you’ve never tested your paddock soil, we strongly encourage you to do so to ensure optimal pasture health for your horse.
Once you’ve completed your soil test, be sure to check out our selection of horse paddock seed mixes. We offer a wide range of seed mixtures tailored to create healthier, more sustainable pastures, no matter your specific needs. Let us help you grow the best grazing ground for your horse!