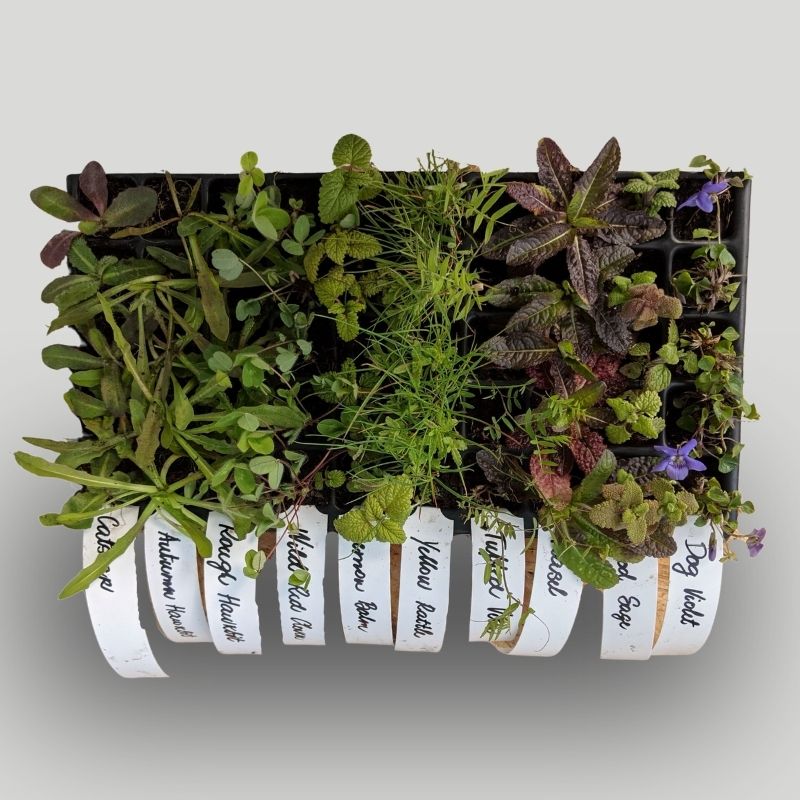
Native British Hedging - Establishment and Maintenance
Native British Hedging
We supply 2-year-old UK hedging whips which are unbranched, bare-root plants. If the weather is unsuitable for planting when you receive your hedging whips, then dig a small hole and bury the roots of the bunched plants. (Storage prior to this should be inside away from potential frosts.) They can be stored like this until planting becomes possible.
All the species in a wildlife hedge can be cut back or ‘coppiced’ without harm; in the first year after establishment, the hedge can be cut back to stimulate growth from the base. Thereafter, cut every 2–3 years, ideally in the spring after wildlife has benefitted from winter berries as a food source and before birds start to nest.
How to plant a hedge:
Good soil preparation beforehand will give your hedge the best start in life.
Soil preparation:
- Prepare the ground by digging over a strip/trench 60-90cm wide and roughly one spade blade deep.
- Remove all weeds.
Do not add organic matter to the bottom of the trench as it will decompose causing the shrub to sink.
Planting:
- Plant 4 native hedging whips per metre for single row hedging, and 6 native hedging whips per metre for double row hedging.
- Trim back any damaged roots to healthy growth with a sharp knife or secateurs.
- Spread out the roots, ensuring the planting depth is correct. The point where the roots flare from the stem should be level with the surrounding soil.
- On sandy or heavy clay soils, mix organic matter, such as garden compost or a proprietary tree and shrub planting mix, with the soil dug out from the hole to backfill.
- Work the soil between the roots, firming plants in so that the soil is in close contact with the roots. Water if the soil is dry.
- Mulch to a depth of 7.5cm (3in) after planting to prevent weeds.
- Ensure plants are well-watered during dry spells for the first two years.
- Keep the hedge, and 45cm (18in) on each side, weed-free.
 Native hedging


